I've received a lot of useful hints and tricks through various outlets, i.e. forums, Rover friends, research, etc and have been asked a bevy of questions along the way. I had a little time this morning so I figured I would try and explain myself, as I'm not sure I fit the traditional mold of a Series owner, nor what I intend to do with it.
(This might get a little long as I tend to be overly verbose, so feel free to skip to the end!)
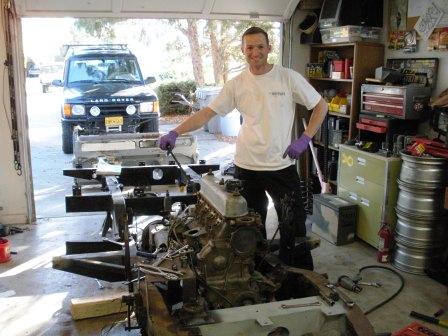
There are a lot of different veins of how a Series restoration should be done, from full frame-off to doing one piece at a time, from concourse to hobbyist. We fall somewhere in the middle; we're not interested in a concourse restoration at all, but we are very committed to staying with the original idea behind the Series truck and keeping black and silver in Sam's veins!
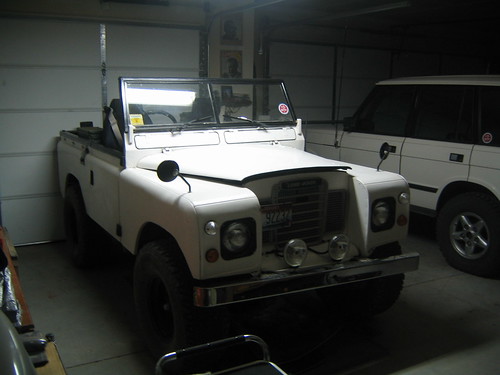
When people ask me how I can drive that truck (basically a tractor with two seats) to work and back on a daily basis without a radio, without A/C or power steering and more noise than you could imagine, I ask how I couldn't? You can't drive a Series truck and talk on the phone because it's just too loud. You can't
not think about driving, because it requires a lot more attention than a modern day vehicle. You can't be in a rush, because somebody is always going to ask you some questions and what kind of Jeep it is or why the steering wheel is on the wrong side of the truck.
In short, driving a Series requires life to be simpler for me ... no iPod, no bluetooth headset, no rush, no worries. It slows things down for me in a life that feels too fast at times.
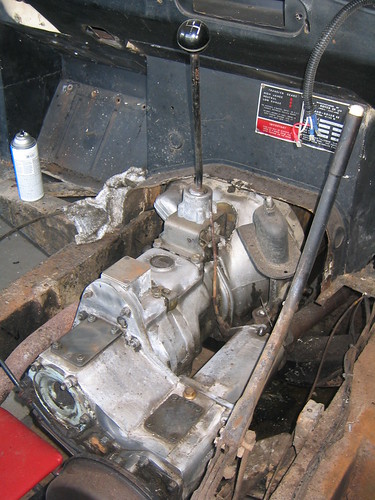
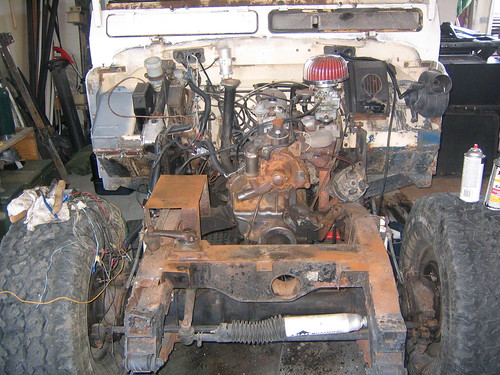
We appreciate the history and origin of the vehicle and are trying to remain true. As we began sketching out the process for this project, we thought briefly of swapping out the motor but then quickly discarded that notion. The 2.25 motor is reliable, strong enough, and just slow enough to keep me on target with what we want to use the vehicle for.
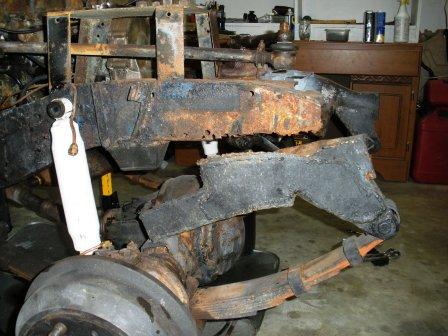
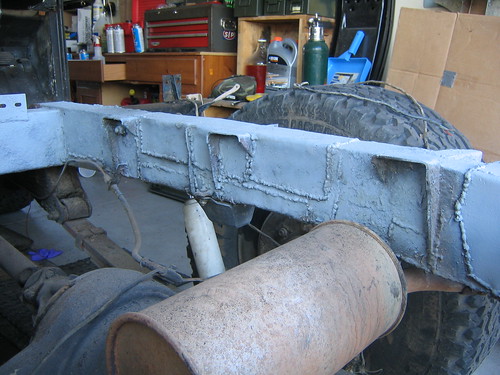
It's always been that truck we wanted to tool around the countryside in at a slow pace, something we can enjoy with the top off and take off pavement when we so desire and not be left wanting. We are considering the spring over axle conversion while the body is off, gaining some ground clearance and hoping for some more flex when off-road. The drivetrain on these trucks are not known for issues, and we've had very few once we got her up and running.
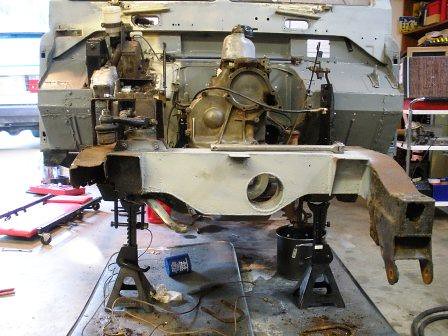
This is the truck I use as a daily driver all summer, but it's also something we want to wheel and enjoy on the trail so suspension is something we're looking at pretty close. We'll make some final decisions once the body is off and we're looking at everything and how it all works.
In the end though, we want a competent trail truck, a nice clean daily driver and something that will last for years to come.
Wish us luck!
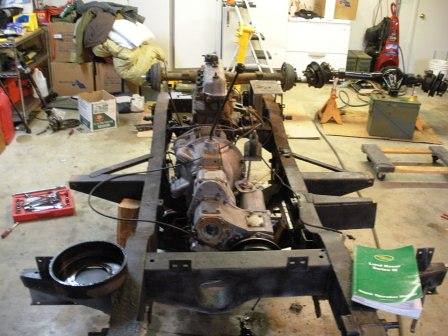
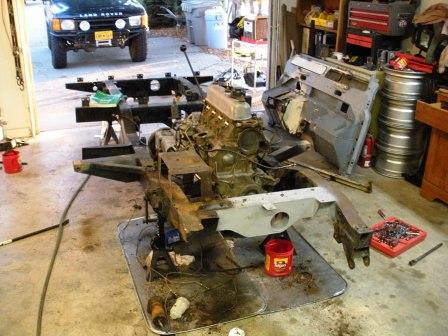
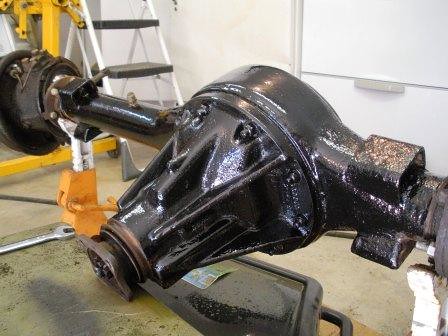
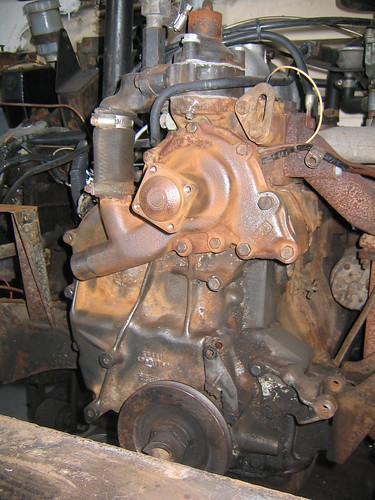
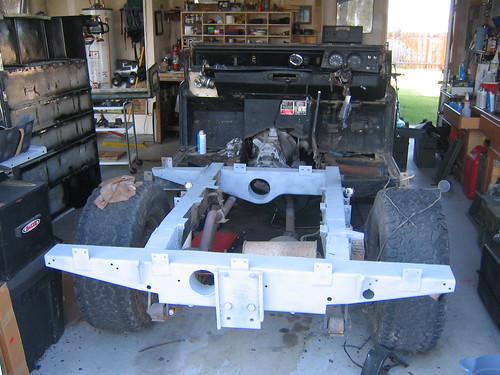
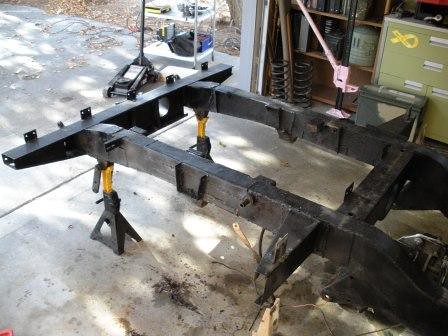 Front axle POR-15d ... rear has yet to be done!